
Resin-bound flooring is installed by mixing dry graded aggregate with a two-part resin binder, spreading the coated stone over a prepared base and finishing it to a controlled level before it cures.
The visible laying stage is only part of the project. Surveying, drainage design, substrate repairs, materials planning and weather checks determine whether the installation is ready to begin. Once mixing starts, the working sequence has to remain organised and consistent.
The exact method depends on the specified proprietary system. Product ratios, permitted temperatures, surface depths and curing times must come from its current technical instructions rather than a generic internet procedure.
Considering resin-bound surfacing in Spain? Send the location, approximate area, intended use and photographs of the existing surface. We can help identify the likely preparation and installation stages.
Request an installation assessmentThe process at a glance
A professionally planned resin-bound project usually follows this order:
- Initial project brief
- Site survey and measurements
- Substrate and drainage assessment
- Written specification and quotation
- Base repairs or new construction
- Final pre-installation checks
- Controlled resin and aggregate mixing
- Placement and hand finishing
- Protection while the surface cures
- Inspection, cleaning and handover
Some stages may take place on the same day. Groundworks, new concrete or asphalt, complex drainage and uncertain substrates extend the programme.
Establishing the project brief
The first discussion should define what the area needs to do.
A pool surround, private terrace, pedestrian entrance and vehicle driveway impose different demands. The installer needs to know about routine traffic, occasional heavy access, cleaning methods and any problems with the existing surface.
The brief should record:
- project location and approximate dimensions
- existing material and known construction
- pedestrian, vehicle or commercial use
- drainage or standing-water concerns
- steps, ramps, curves and fixed features
- required appearance and colour family
- access limitations and occupied areas
- preferred timing
Photographs can identify obvious constraints. They cannot confirm what lies beneath tiles, paving or an existing resin surface.
The site survey
The survey converts a broad enquiry into a buildable scope.
Measurements need to cover the full area, edge lengths, thresholds, steps, drainage components and changes of level. The proposed finished height should be checked at doors, gates, covers, pool details and adjoining surfaces.
The survey should also trace the route for materials and equipment. A project reached from an open drive is different from one accessed through an apartment, narrow passage or occupied commercial space.
Where the construction is hidden or deterioration is unexplained, further investigation may be needed before a firm specification is possible.

Assessing the substrate
The existing base must be stable and appropriate for the intended use.
Concrete is checked for cracking, movement, weak surface material, contamination, repairs and workable falls. Asphalt is assessed for deformation, soft areas, oil and edge failure. Tiles or paving need scrutiny for loose, hollow or moving units as well as moisture and height constraints.
The fact that an existing surface can be covered does not prove that it should be covered. Active movement and widespread failure are reasons to consider removal or reconstruction.
The assessment should decide:
- what can remain
- what must be removed
- which repairs are required
- whether movement joints need to be retained in the detail
- how the surface will be restrained at its edges
- whether the complete base is suitable for the expected traffic
Resolving drainage before levels are fixed
Drainage is designed as part of the build-up.
A resin-bound layer may allow water through its connected voids. If it sits on solid concrete or dense asphalt, the water still needs to follow the base towards a channel, outlet or open edge. A fully permeable installation requires suitable open layers beneath and ground or drainage capable of receiving the flow.
The design should account for water arriving from roofs, higher paving, pool splash and neighbouring areas. Door thresholds, walls and adjoining properties must be protected.
Drainage channels and covers need their final levels set before surfacing. Adding them after the base has been prepared can disrupt falls and edge details.
Understand drainage and permeabilityAgreeing the specification
The quotation should describe more than a colour and square-metre price.
It should identify the existing base, preparation, proposed resin system, aggregate blend, drainage work, edges, steps, covers and intended use. Exclusions and assumptions need to be visible. IVA should be stated clearly.
Product-specific information may include permitted substrates, primer requirements, mix components, application depth, weather limits and opening time. Those details should match the current documents supplied for the selected system.
Samples help with colour selection, although natural aggregate can vary between batches and under different light. Any contrasting borders or patterns should be drawn and measured before materials are ordered.
Planning materials and batches
Resin-bound surfacing is created through a sequence of individual mixes. Consistency between those mixes affects both appearance and performance.
The installation plan needs enough compatible resin, aggregate and specified additives from verified batches. Materials should be checked on arrival and stored according to the manufacturer's instructions. Aggregate intended for mixing must remain dry and clean.
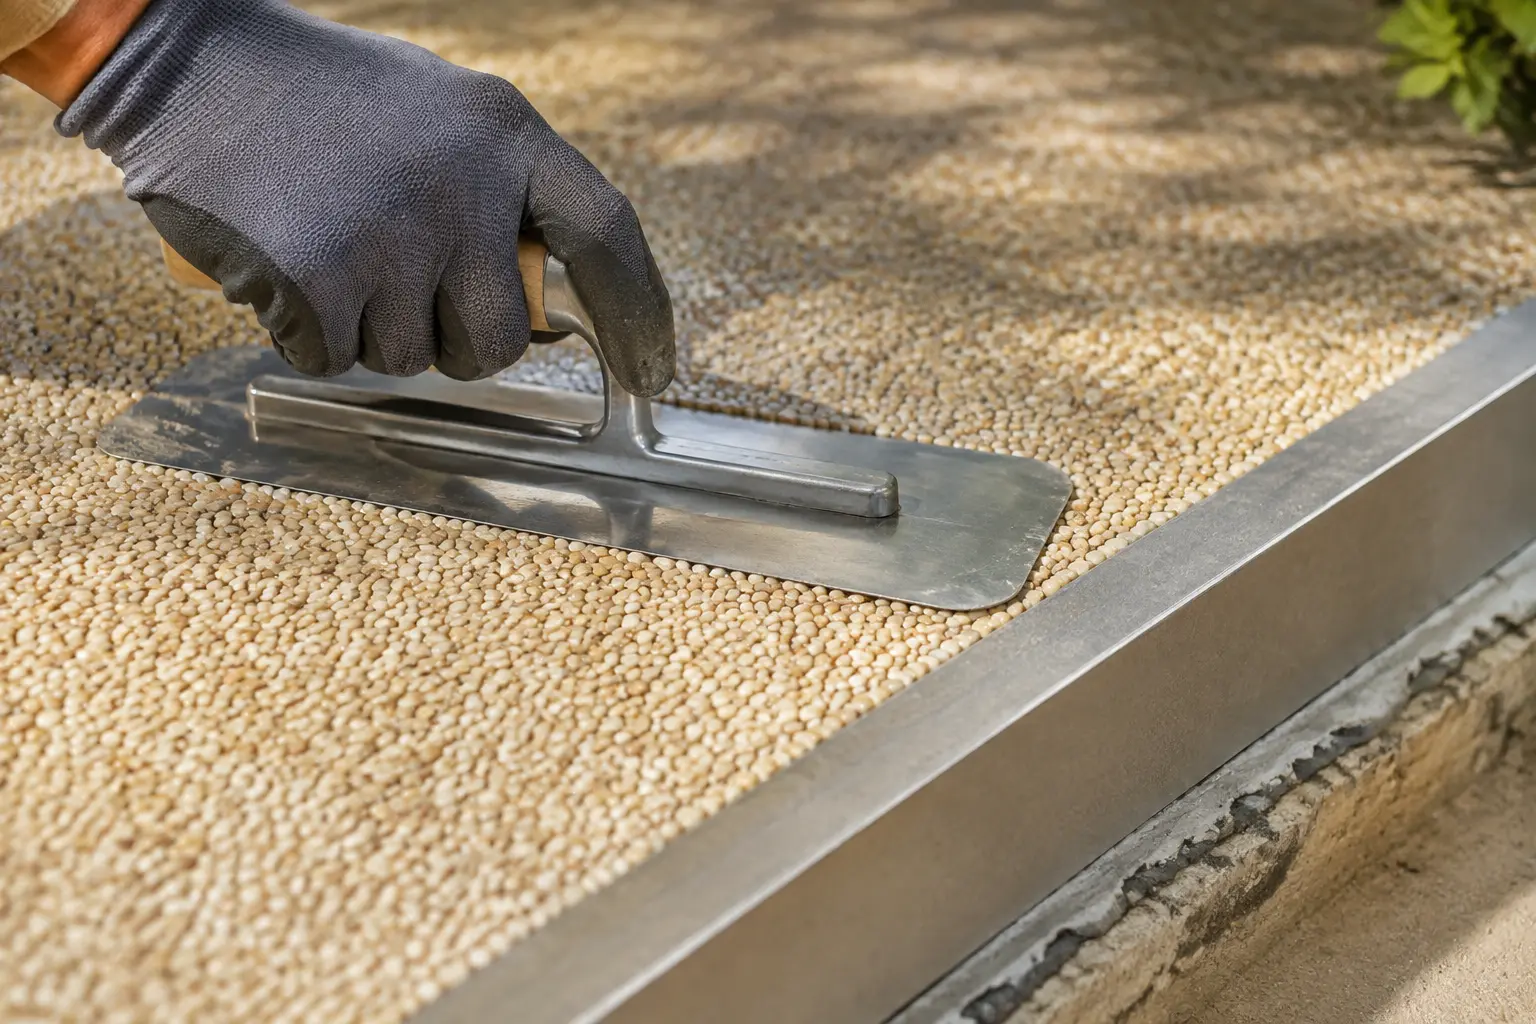
Batch planning also determines where work begins, how it proceeds around obstructions and where a planned joint may be placed if one is unavoidable. An unexpected stop can leave a visible line.
The team needs suitable mixing equipment, clean hand tools, transport between the mixer and laying area and a protected place for materials. Exact equipment requirements follow the chosen system.
Preparing the working site
The work area and routes around it need to be secured before preparation begins.
Cars, furniture, plant pots and movable items should be removed. Adjacent walls, doors, copings, channels and completed surfaces may require protection. Occupants need to know which entrances or parking spaces will be unavailable.
The mixing area should be organised to avoid contaminating the resin-bound zone. It must allow safe handling, accurate batching and regular cleaning of equipment. Dust, loose soil and garden debris should be controlled.
Commercial or community projects may require phased access, signage and coordination with other trades. These arrangements belong in the programme rather than being decided after materials arrive.
Removing failed material and completing groundworks
Where the existing construction is unsuitable, defective material is removed to the agreed extent. Excavated waste is handled as described in the quotation.
New bases are constructed and compacted for the ground conditions, drainage strategy and intended loads. Edge restraints, channels, service covers and threshold details are installed at the required levels.
New concrete, asphalt and repair materials need to reach the condition required by the resin system before they are covered. A generic waiting period should not be substituted for current product guidance and actual site conditions.
This stage may be completed well before the decorative surface installation.
Cleaning and mechanical preparation
The substrate must present a clean, sound surface suitable for bonding.
Preparation may involve controlled mechanical abrasion, thorough cleaning or another method suited to the base. Weak material, laitance, dirt, organic growth, oil, paint, sealers and incompatible coatings cannot simply remain beneath the new finish.
Cracks and joints receive the agreed treatment. Any primer required by the system is applied to a properly prepared substrate and allowed to reach the stated condition before surfacing.
Cleaning should take place early enough for the base to meet moisture requirements. A surface that looks dry from a distance may still hold water in cracks, joints or low points.
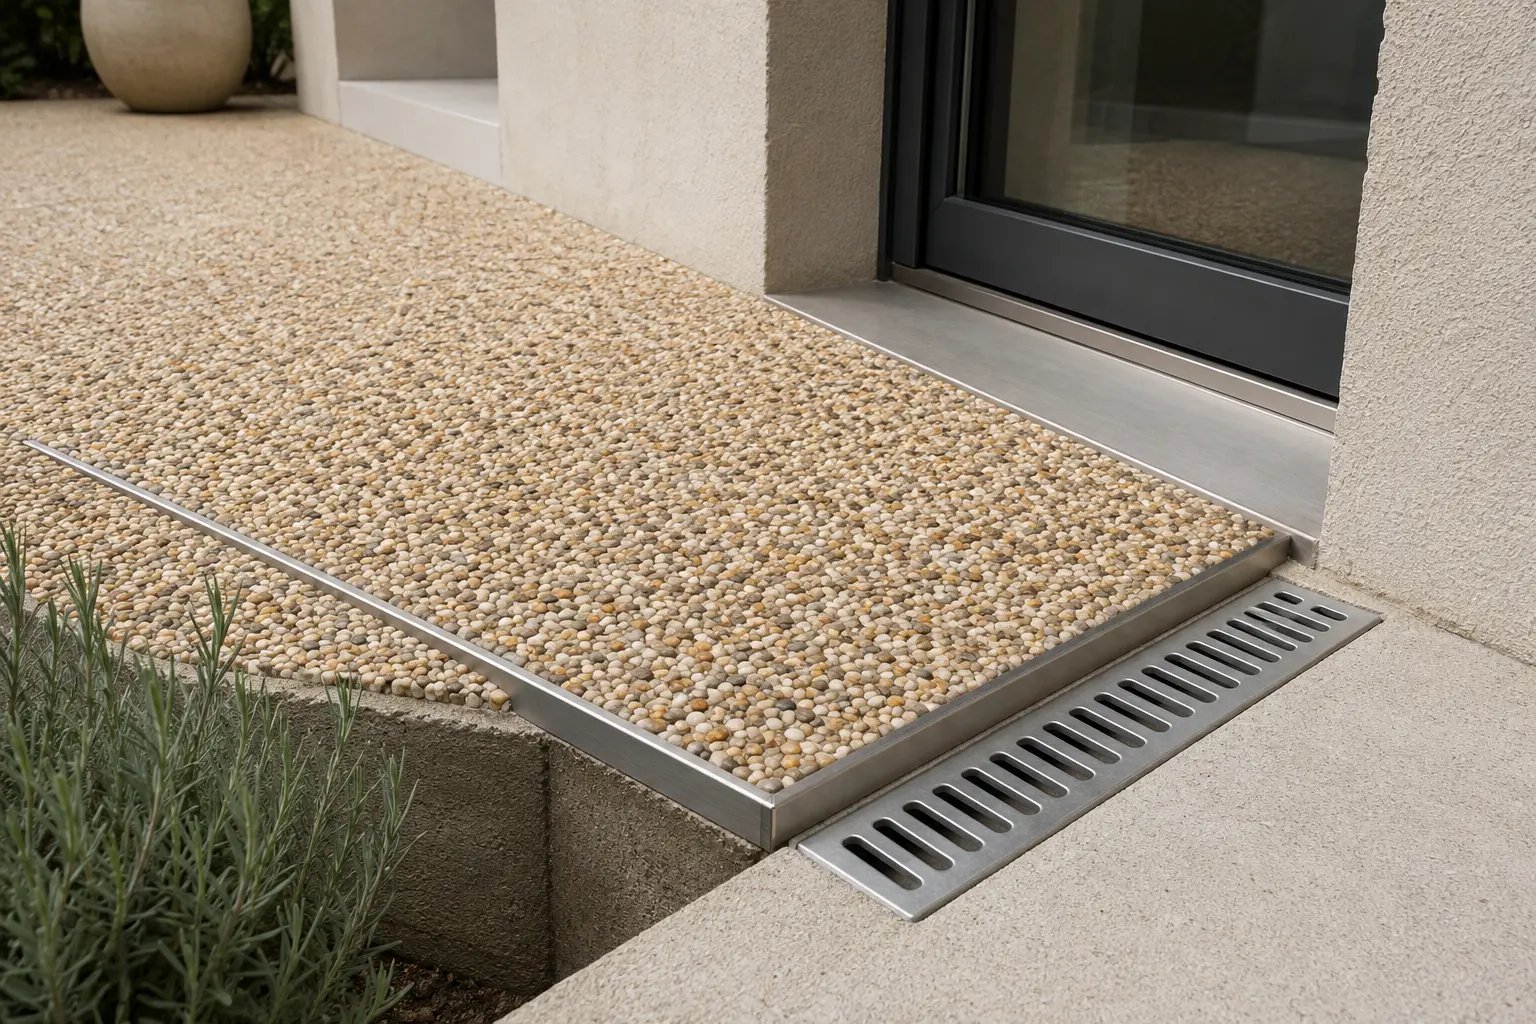
Final weather and readiness checks
The installation date remains conditional on site conditions.
Air temperature, base temperature, humidity, dew point, recent rain and the forecast can affect working and curing. Strong sun can heat a dark base and shorten the available working time. Wind may bring dust or leaves onto the surface.
The go or no-go decision must use the limits for the specified resin system. Figures from a different manufacturer should not be borrowed.
Before mixing starts, the team should confirm:
- the base is ready and within the system requirements
- the area is correctly measured and set out
- materials, batches and quantities have been checked
- edges, channels and covers are secure
- tools and mixing equipment are clean
- the laying route can continue without an avoidable stop
- access protection and exclusion arrangements are in place
Postponement is inconvenient. Starting in unsuitable conditions can be much more costly.
Mixing resin and aggregate
The binder components are combined in the exact proportions and sequence stated by the manufacturer. They are then mixed with the specified dry aggregate and any required fine material using equipment capable of coating the blend consistently.
Each batch needs the same controlled process. Changes in component quantity, timing, material temperature or mixing efficiency can produce differences between adjacent areas.
The team should be able to trace the materials used and monitor consistency throughout the installation. Unverified wet aggregate, improvised ratios and casual hand mixing create avoidable risk.
This page intentionally does not reproduce one supplier's batch recipe. Resin and aggregate systems are not interchangeable.
Moving and spreading the mix
The completed mix is transferred promptly to the laying area using clean equipment. It is distributed in manageable quantities so the surface can be controlled before the material begins to cure.
The installer works to the specified depth and finished levels. The sequence should maintain a live working edge between adjacent batches wherever possible. Planning around columns, drains, steps and narrow sections reduces rushed decisions.
Material should not be left in heaps on the base while the team catches up. The pace of mixing needs to match the pace of spreading and finishing.
Hand finishing
The spread material is compacted and finished with appropriate hand tools to create an even, closed-looking surface while retaining the intended internal void structure.
The work requires judgement. Insufficient compaction can leave weak or loose areas. Excessive or inconsistent working may affect appearance. Edges, channels, covers and transitions need particular attention.
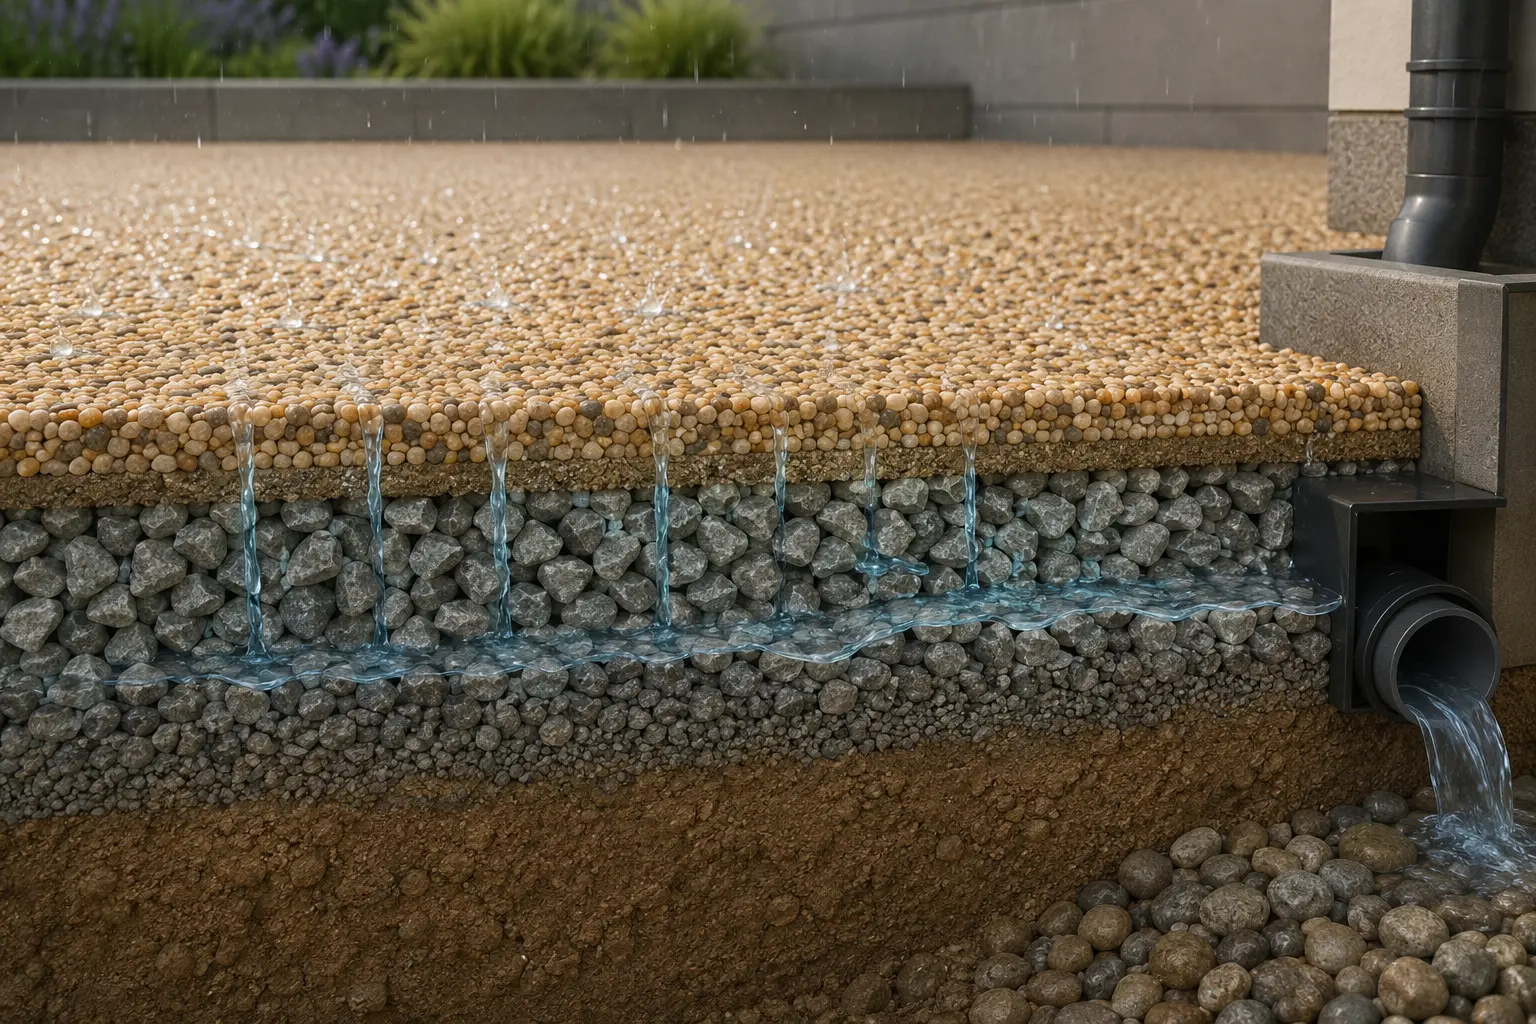
The finished plane is checked from more than one direction while correction remains possible. Trowel marks, low spots and disturbed edges become harder to address once curing advances.
Where the specification includes an additional surface treatment for slip performance, it is applied in accordance with the selected system. Its type and purpose should be documented rather than described through an unsupported universal slip claim.
Joints and stopping points
Large or divided sites need a laying sequence that anticipates joints.
Existing movement joints may need to remain expressed in the finished detail. Planned day joints or changes in colour should sit in logical positions where possible. An unplanned interruption can produce a visible transition even when the same aggregate blend is used.
The installer should explain where joints will appear before work starts. Claims of an entirely joint-free surface are inappropriate where the base or programme requires them.
Protecting the surface while it cures
Fresh resin-bound surfacing must be kept free from people, animals, vehicles, water and contamination for the period stated by the system supplier under the actual conditions.
There is no safe universal opening time. Temperature, material formulation, catalyst use and site conditions can change it. A surface that feels firm at an edge may not yet be ready for traffic.
Barriers and alternative access should remain in place until the responsible installer confirms release. Commercial handovers may distinguish between pedestrian opening and later vehicle access.
Inspection and handover
The completed area should be viewed in normal daylight after it has reached the required condition.
The handover can record:
- installed system and aggregate blend
- area and date of installation
- visible joints and agreed details
- drainage channels and maintenance access
- opening restrictions
- routine cleaning advice
- treatment of spills, weeds and organic growth
- product documentation and guarantee terms where applicable
- contact route for reporting a concern
Natural stone variation should be distinguished from defects. At the same time, loose aggregate, unexpected soft areas, drainage failure or widespread visual inconsistency deserve proper investigation rather than dismissal as natural character.
How long does installation take?
The answer depends on the scope before the resin-bound layer is laid.
A straightforward overlay on a suitable prepared base may have a short on-site surfacing phase. Excavation, structural base work, drainage changes, complex steps or waiting for new construction to reach the required condition can extend the project considerably.

Weather also affects the programme. A quotation should distinguish estimated working days from elapsed calendar time and explain which stages are conditional.
Avoid treating a one-day laying claim as a complete project duration unless the base is already proven and all preparatory work is excluded or finished.
What disruption should you expect?
Noise and dust are usually greater during removal and mechanical preparation than during hand finishing. Equipment, aggregate and resin need a working area. Access across the surface will be restricted during installation and curing.
Questions to settle before the start include:
- Where will vehicles be parked?
- Which entrance remains available?
- Can pets and children be kept away from the area?
- How will pool or garden access be managed?
- What working hours apply?
- Where will waste and deliveries be handled?
For a business or residential community, phasing may be worth more than the shortest overall programme.
Warning signs in an installation proposal
Further questions are justified when a proposal:
- prices from area alone without assessing the base
- describes every existing surface as suitable for overlay
- does not explain where water will go
- omits the resin system and aggregate specification
- treats all weather as acceptable
- offers a universal opening time without conditions
- ignores cracks, joints, thresholds or edge restraints
- relies on an unusually thin description of preparation
- cannot state what is excluded from the price
- promises invisible repairs or perfect colour matching
An installer does not need to overwhelm a customer with chemistry. The method and responsibilities should still be clear.
Information to provide before an assessment
An initial review is more useful when it includes:
- location and approximate dimensions
- photographs from each side of the area
- close views of cracks, joints, drains and edges
- intended pedestrian or vehicle use
- known history of the existing base
- standing water or moisture problems
- steps, curves, covers and thresholds
- access from the road to the working area
- timing constraints
A site visit may still be required before the final scope and price are confirmed.
Plan the installation from the ground upwards
The installation sequence begins with the use, substrate and water route. Product choice and appearance follow those decisions. Once the laying operation starts, consistency and uninterrupted organisation become central.
Send the project details and photographs for an initial review of the likely preparation, drainage and installation stages.
Discuss your installation